
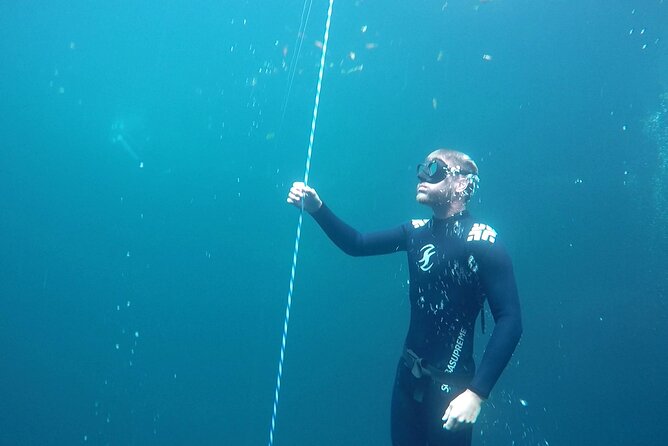
Reviewed · CENOTE SWIMS NEAR PLAYA
Freediving Intro for Beginners in a Cenote in Tulum Mexico
Breath-hold training at a cenote feels unreal. This beginner course at Casa Cenote turns your first tries into real skills, with step-by-step coaching on breathing and equalization before you ever get in the water. Two things I really liked: the small group feel with close guidance, and the chance to explore less-accessible parts of the cenote under clear-water mangroves. One thing to consider: pickup is limited to hotels and stays in Tulum downtown, not the beach zone.
I also like that you’re not left guessing in the moment. You’ll get full gear, coached drills, and even underwater videos to help you spot what to improve after. Esteban, the instructor praised in one of the standout feedback notes, is described as patient and detailed, which matters a lot when your body is learning new breathing timing. If you’re comfortable signing a medical release and following a safety-first routine, this is a great way to start.
In This Review
- Key highlights worth planning for
- Casa Cenote and the lesser-visited sections you’ll actually train in
- The 5-hour rhythm: private transport from downtown and a real in-water window
- Before you enter: what you learn about equalization, breathing, and setup
- In-water training: drills, familiarization, and a slow progression to 7 meters
- Your gear day: full equipment plus weights you can manage
- Underwater videos: why the footage can help you improve fast
- Price and value: what you’re really paying for at about $214.94
- Who should book this beginner breath-hold intro?
- Practical tips for a smooth cenote training day
- Should you book this 5-hour Casa Cenote beginner session?
- FAQ
- How long is the experience?
- What’s the maximum depth?
- Where do I meet the group?
- Is pickup available?
- How many people are in the group?
- What language is the tour offered in?
- What freediving gear is included?
- Are underwater videos included?
- Is bottled water or snacks provided?
- Is there a refund if I cancel?
- Do I need to sign any forms?
Key highlights worth planning for
- Small group coaching (max 4 people) for calmer, more hands-on instruction
- Casa Cenote access beyond walk-in areas so you’re not doing the same route as everyone else
- Briefing before entering the water covering equalization, breathing, and equipment setup
- Training up to 7 meters / 23 feet with progressive drills and guided swim-throughs
- Full gear included: mask, snorkel, fins, wetsuit, weight belt, and weights
- Underwater videos included to review technique and progress
Cooler water underground, more Playa cenotes to pick from
- Chichen Itza, Cenote and Valladolid Small Group Day Trip★ 5.0 · 2,104 reviews
- Tulum Guided Tour, Magical Cenote, Lagoon Snorkeling and Beachside Lunch★ 5.0 · 1,888 reviews
- Tulum Ruins, Turtles in Akumal and Cenote tour★ 5.0 · 1,706 reviews
- Selva Maya Eco Adventure Park: Ziplining, Hanging Bridges, Rappelling and Cenote★ 5.0 · 1,057 reviews
Casa Cenote and the lesser-visited sections you’ll actually train in
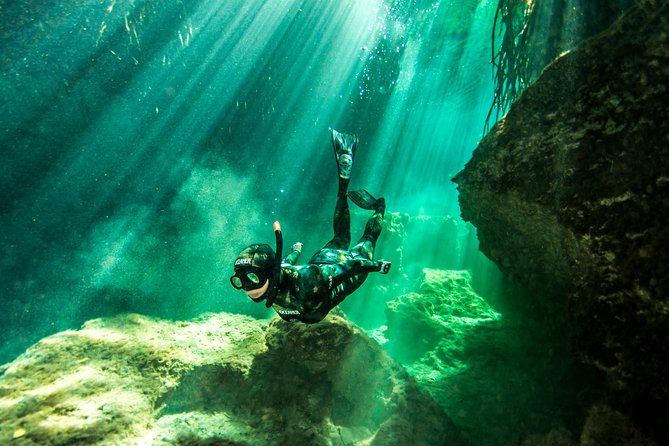
Casa Cenote is the kind of place where the water looks like it has its own lighting. You’re not just sightseeing from the edge. You’ll be taken to areas that are off limits for walk-in visitors, which is a big deal if you’ve ever shown up at popular cenotes and felt like you were fighting the crowd for space.
What you’re really paying for here is guided access plus structured practice. The experience is built so you can feel the “different world” effect of being underwater without needing to be a swimmer who already knows everything. Once you’re in, you start with getting comfortable—then you move into more challenging skills, still with supervision.
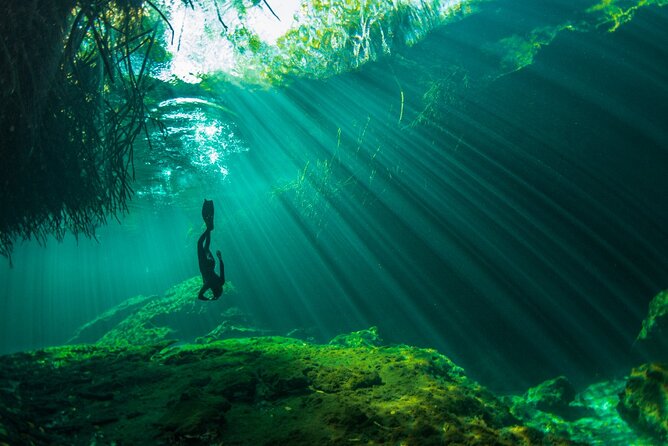
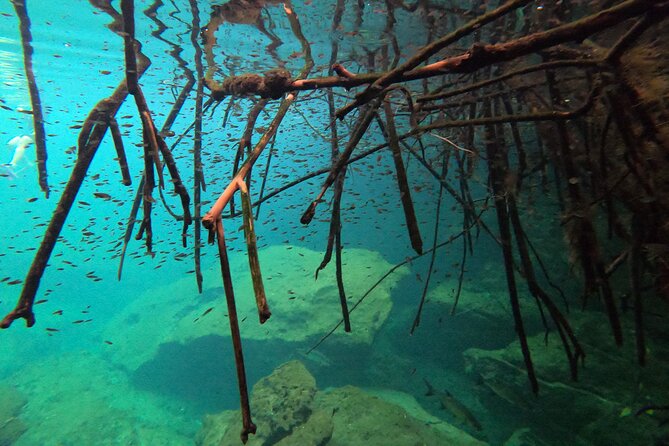
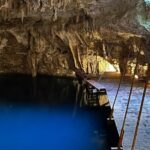
The cenote environment matters too. You’ll be training in clear water surrounded by mangroves, and you’ll get guided swim-throughs as part of the learning. That combo makes the day feel like more than a checklist. It’s a real introduction to what breath-hold skill feels like in an actual cenote setting, not a pool session.
The 5-hour rhythm: private transport from downtown and a real in-water window
Plan around a day that’s about 5 hours total from pickup to return. You’ll meet at Ki’bok Coffee Tulum on Avenida Zamná, Calle 12 Sur, in La Veleta. From there, the drive to the cenote is about 15 minutes.
The timing that matters most is how long you’re in the water. Total in-water time can vary by group size, usually 1.5 to 2.5 hours. That range is important: with a smaller group (up to 4), you tend to get more individualized attention and less waiting around.
One practical note: your pickup is only available from hotels and stays in Tulum downtown. It won’t be from the beach/hotel zone, and it also excludes Aldea Zama and La Veleta for pickup. If you’re staying somewhere outside the allowed pickup area, double-check before you book. The tour ends back at the meeting point, so you’re not forced into extra transportation planning.
Before you enter: what you learn about equalization, breathing, and setup
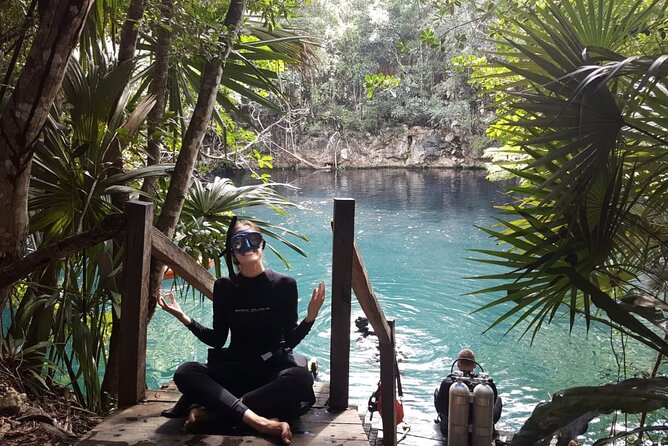
This experience starts with a briefing that’s clearly designed for beginners. Before you go in, the instructor covers the basics you need to feel safe and not panic.
You’ll get instruction on:
- Equalization basics (so you know what to do as you move down)
- Breathing for breath-hold training (how to manage your breath and timing)
- Equipment donning (so mask, snorkel, fins, and weights fit correctly)
This is the part I’d call the “value insurance.” In breath-hold activities, the biggest problems usually come from trying to wing it. By teaching you what’s happening and what to do, you reduce the chance you’ll spend your time fighting your own gear or your nerves instead of learning the skill.
Because you’re learning in a cenote—not a classroom—you want the briefing to translate right away. That’s why the transition to water is quick and structured: you’ll familiarize yourself with the area and your gear right after you get in.
In-water training: drills, familiarization, and a slow progression to 7 meters
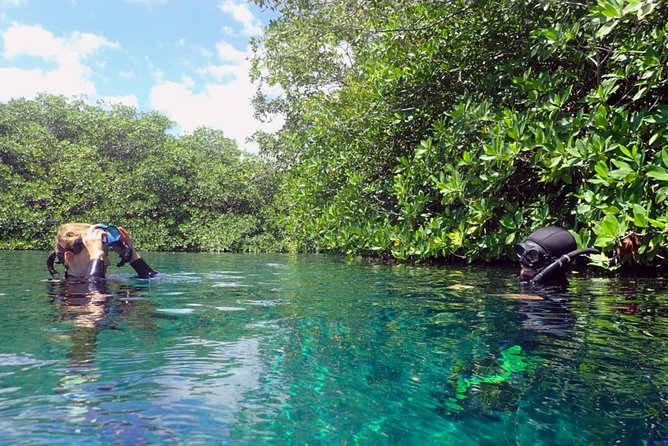
Once you’re in the water, you won’t be dropped into the deepest part right away. The plan is to start with basic drills and then progress gradually.
You’ll begin by:
- familiarizing yourself with the area
- getting used to the gear in the cenote conditions
- practicing basic movements under guidance
Then you move to more challenging dives and swim-throughs, while staying within a maximum depth of 7 meters / 23 feet. That depth limit is beginner-friendly in the sense that it gives the experience a clear boundary. You’re not trying to become an advanced diver on day one.
One more detail that matters: the learning is supervised the whole time. You’re not left to figure out technique alone, and that supervision is especially useful if you’re nervous about equalization or coordination.
Also, because the training is progressive, you’re less likely to rush. You’ll be coached through what “better” feels like—breathing rhythm, body position, and how to move efficiently. You might find that your confidence changes fast once you realize the goal isn’t speed. It’s control.
Your gear day: full equipment plus weights you can manage
Good gear fit makes or breaks the experience. This tour includes full equipment: mask, snorkel, fins, wetsuit, weight belt, and weights. That’s helpful because it means you’re not spending your time on sizing and purchasing before you even arrive.
Here’s what you should pay attention to once you’re geared up:
- Mask comfort and seal: you want it stable so you’re not constantly adjusting underwater
- Fins fit: you’ll need reliable propulsion without fighting loose gear
- Wetsuit comfort: the water can feel cooler once you’re down and holding still
- Weight belt position: it’s not just about having weights; it’s about keeping them where they work for you
The instructor’s role here is practical. Equipment donning is part of the pre-water briefing, and then you do drills so the gear becomes familiar quickly.
If you’ve never used a weight belt before, don’t treat it like a fashion accessory. Treat it like part of your buoyancy control. Ask questions early, and adjust only when the instructor tells you to.
Underwater videos: why the footage can help you improve fast
I like this inclusion more than most people expect. Underwater videos are included, and they turn your session into something you can actually study.
In one of the highlighted feedback notes, Esteban took underwater videos that helped the person learn what to improve. That’s the real advantage: you can’t always feel your own form the way you think you can. Footage helps you see:
- your body angle
- your movement efficiency
- whether you’re staying calm and controlled
Even if you’re not planning to become a long-term breath-hold person, reviewing a short clip can make tomorrow’s practice easier. You leave with more than a memory—you leave with information.
Price and value: what you’re really paying for at about $214.94
At $214.94 per person, this isn’t a bargain-basement activity. But the price starts to make sense when you total what’s included.
You’re getting:
- private transportation to and from the cenote area outside Tulum
- all fees and taxes
- full gear (not just a snorkel and a mask)
- underwater videos
- guided supervision throughout the water session
What’s not included is simple: snacks and bottled water. So budget for that yourself.
For value, the key question is whether you want personalized coaching on day one. With a small group maximum of 4 travelers, you’re not paying for a big class where you get one glance from the instructor. You’re paying for safety coaching, gear guidance, and a structured progression that fits beginners.
If you’re comfortable with learning quickly and want guided access to off-limits cenote sections, the price feels fair. If you’re looking for a self-guided swim with minimal instruction, you’ll probably feel like you’re paying for coaching you don’t need.
Who should book this beginner breath-hold intro?
This works best if:
- you’re new and want a structured plan for breath-hold skills
- you want a guide with you the whole time, not just a quick safety talk
- you like clear-water snorkeling-style settings but want more structure than snorkeling offers
- you want small-group attention (max 4)
It may be less ideal if:
- you’re staying outside the allowed pickup area for Tulum downtown hotels and stays
- you don’t want to sign a medical release
- you need a long, leisurely time in the water instead of skill practice (the water session is about 1.5 to 2.5 hours, based on group size)
Also, the experience says most people can participate, which is reassuring. Still, breath-hold training has physical requirements. If you have any medical concerns, treat that medical release seriously and consider speaking with your doctor before you go.
Practical tips for a smooth cenote training day
Here are a few things that can make the day feel calmer and more comfortable:
- Eat beforehand. Snacks and bottled water aren’t included, so plan food earlier rather than relying on a quick stop.
- Bring a relaxed mindset. The training includes equalization and breathing practice. You learn faster when you’re not fighting anxiety.
- Ask about gear fit right away. Equipment donning is part of the briefing. If something feels off, say something before you get into the water.
- Treat the depth limit as a safety boundary. The maximum depth is 7 meters / 23 feet. The goal is learning, not chasing numbers.
- Expect practice, not just photos. Yes, you’ll get videos. But you’ll also spend time doing drills and improving technique under supervision.
If you’re the type who likes “do this, then this” learning, you’ll probably appreciate how the day is paced.
Should you book this 5-hour Casa Cenote beginner session?
I think you should book if you want a safe, beginner-friendly introduction that uses a real cenote setting, includes full gear, and gives you guided progression up to 7 meters. The biggest strengths are the small group size, the instructor supervision, and access to sections you can’t reach as a casual walk-in. Add in the included underwater videos, and you get something you can learn from, not just something you can say you did.
Skip it (or at least double-check fit) if your hotel location makes pickup impossible, if you’re not comfortable signing a medical release, or if you’d rather spend your day free-swimming without instruction.
If you’re staying in Tulum downtown and want your first breath-hold experience done the right way, this is a strong pick.
FAQ
How long is the experience?
It’s about 5 hours total, with 1.5 to 2.5 hours in the water depending on group size.
What’s the maximum depth?
Maximum depth is 7 meters / 23 feet.
Where do I meet the group?
The start point is Ki’bok Coffee Tulum, Avenida Zamná, Calle 12 Sur, La Veleta, 77760 Tulum, Q.R., Mexico.
Is pickup available?
Yes, pickup is offered with private transportation, but only from hotels and stays in Tulum downtown. Pickup isn’t available from the beach/hotel zone, not Aldea Zama, and not La Veleta.
How many people are in the group?
This experience has a maximum of 4 travelers.
What language is the tour offered in?
It’s offered in English.
What freediving gear is included?
You’ll get full gear: mask, snorkel, fins, wetsuit, weight belt, and weights.
Are underwater videos included?
Yes. Underwater videos are included.
Is bottled water or snacks provided?
No. Snacks and bottled water are not included.
Is there a refund if I cancel?
No. The experience is non-refundable and cannot be changed for any reason.
Do I need to sign any forms?
Yes. All participants must sign a medical release.
More Tour Reviews in Tulum
- Chichen Itza, Cenote and Valladolid Small Group Day Trip
★ 5.0 · 2,104 reviews - Tulum Guided Tour, Magical Cenote, Lagoon Snorkeling and Beachside Lunch
★ 5.0 · 1,888 reviews - Tulum Ruins, Turtles in Akumal and Cenote tour
★ 5.0 · 1,706 reviews - Sian Ka’an Adventure Full Day Trip to Punta Allen
★ 5.0 · 1,179 reviews - Selva Maya Eco Adventure Park: Ziplining, Hanging Bridges, Rappelling and Cenote
★ 5.0 · 1,057 reviews - Tulum Archaeological Site & Sian Ka’an Muyil Tour from Tulum
★ 5.0 · 824 reviews
More Playa Cenotes Worth the Swim
- Chichen Itza, Cenote and Valladolid Small Group Day Trip
★ 5.0 · 2,104 reviews - Tulum Guided Tour, Magical Cenote, Lagoon Snorkeling and Beachside Lunch
★ 5.0 · 1,888 reviews - Tulum Ruins, Turtles in Akumal and Cenote tour
★ 5.0 · 1,706 reviews - Selva Maya Eco Adventure Park: Ziplining, Hanging Bridges, Rappelling and Cenote
★ 5.0 · 1,057 reviews - Magical Cenote and Paradise Lagoon Snorkeling Adventure
★ 5.0 · 808 reviews - 4 Private Cenotes, Zip-Lines, Canoes & Mayan Village with Delicious Lunch
★ 5.0 · 757 reviews
Just Added: Fresh Playa del Carmen Reviews
Cenote Swims near Playa, compared.
 ★ 5.0Chichen Itza, Cenote and Valladolid Small Group Day TripFrom $2142,104 reviews
 ★ 5.0From Playa del Carmen ATV Adventure with Ziplines, CenoteFrom $492,041 reviews
 ★ 5.0Half-Day Sea Turtle and Cenote Snorkeling Tour from Cancun & Riviera MayaFrom $992,039 reviews
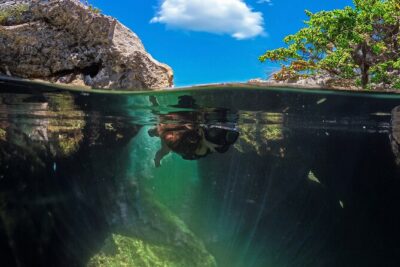 ★ 5.0Tulum Guided Tour, Magical Cenote, Lagoon Snorkeling and Beachside LunchFrom $1691,888 reviews
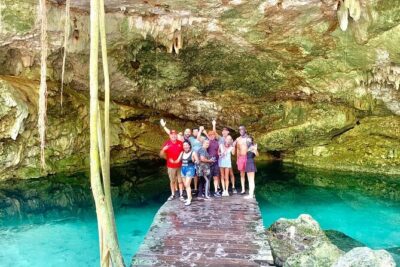 ★ 5.0Playa del Carmen Buggy Tour with Cenote Swim and Mayan Village VisitFrom $991,747 reviews
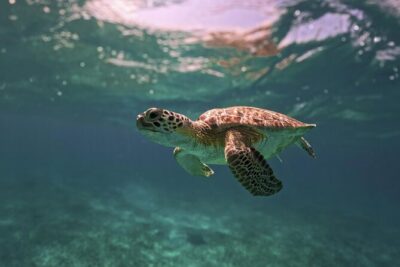 ★ 5.0Tulum Ruins, Turtles in Akumal and Cenote tourFrom $1291,706 reviews
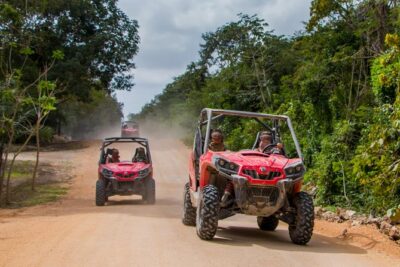 ★ 5.0Jungle Buggy Tour from Playa del Carmen Including Cenote SwimFrom $1101,253 reviews
 ★ 5.0Hidden Cenote Swim: Snorkeling, Sea Turtles and Beachside LunchFrom $1691,222 reviews